
My wonderful wife was at an auction this summer and got the chance to bid on a lot of two band saws. She ended up getting both for $25 and immediately sold one for $15 plus the guy offered to drop the other one off for her. When she called and told me I was a bit skeptical of a $10 band saw. When I got home I was pleasantly surprised by what I saw.

An older Craftsman 10" band saw on a stand. Not a giant, not a high priced ubber accurate saw, but a really good deal for $10 delivered. After a little research I discover the blade length required is 72 5/8". No problem. A quick check of the local big box, nothing. Check of the local hardware stores, nothing. Check of the local Sears outlet, nothing. Check of the big Sears 45 miles away, nothing. What to do now? The local big box has a 93" blade for $10 so I thought I would try to weld my own. After several different attempts and trying different bonding agents, I finally come across a method that works pretty well for me.
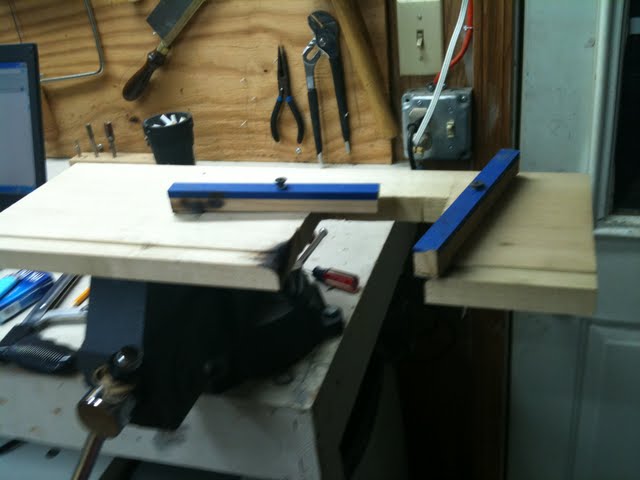
It all starts with a little jig I made to hold the blade. It is really just a board that I used a shoulder plane to make a rabbit in. Then I made a couple of hold downs to screw to it and cut a hole to do the actual heating part in.
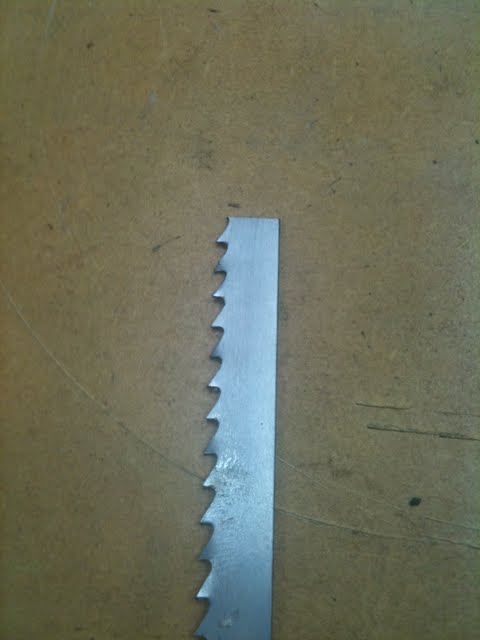 I cut the blade to length and make sure the ends are nice and square.
 Then I use the belt sander to taper the ends forming what is essentially a scarf joint. I shoot for the taper to be about as long at the blade is wide. I then put one end in the jig and wipe it with acetone.
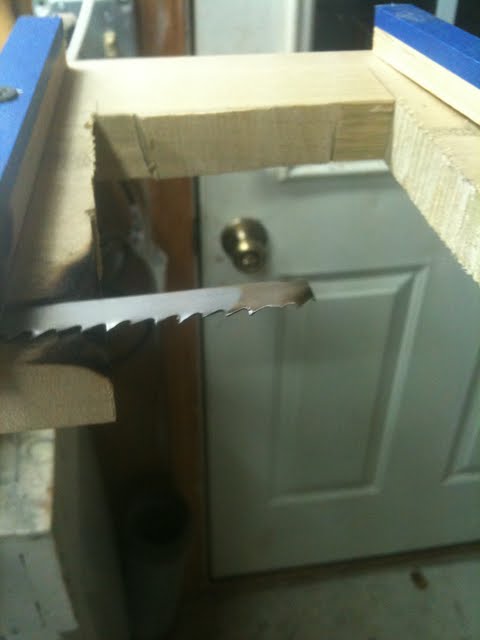
 I then mount the other end overlapping the tapered ends fresh off the belt sander and wiped with acetone.
 The key to the whole operation is the right amount of heat and the proper bonding agent.
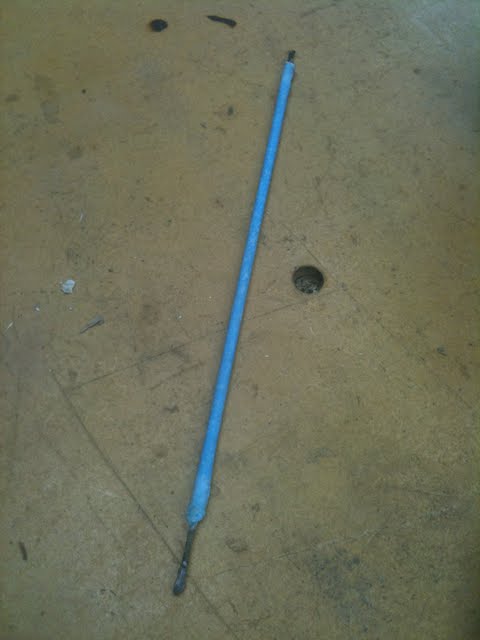 I got this blue welding rod from my step dad. We aren't really sure it's exact components, but we know it has a fairly high silver content. The silver content is important because silver is strong enough to hold the joint but melts at a low enough temp to use a standard propane (or MAPP gas) torch.
 I melt a little of the coating off of the welding rod onto the blade to act as flux.
 Then it's time for the fire.
If you notice at the end of the video you see me pour sand onto the blade. This is an experimental process for me. With my method of welding, I have never had a blade break at the weld. They have all broken beside the weld. Annealing is a process of heating steel to a specific temperature and cooling it in a specified manner to restructure the metal for the properties you want. In the case of a band saw blade, you want strong and springy, not brittle. This has been my issue. The area beside the weld always seems to be more brittle and less "springy" than the rest of the blade. The sand was heated to about 190*F and then poured over the weld as fast as I could after removing the heat. Sand holds heat for a long time. I hope slowing the cooling of this very thin steel will help with the brittleness. It did seem to help, although not as much as I would like.
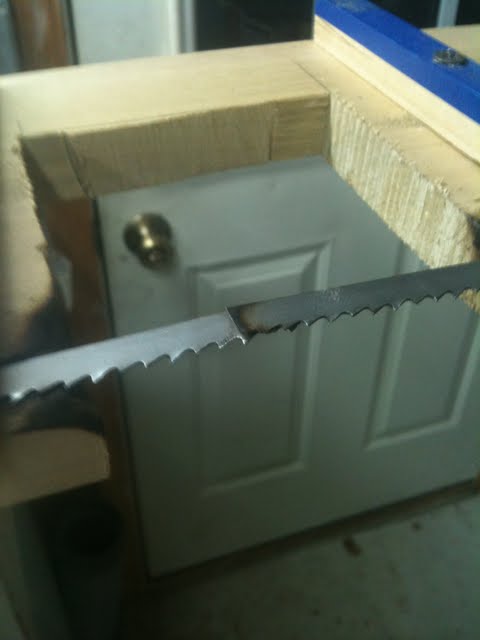
After this I clean the weld up a big and install it on the saw.
Hope this helps anybody out who may be looking into this as an option for their band saw, or for repairing blades when you’re in a bind and break yours without a replacement.
As always feel free to comment in the section provided below or contact me via Facebook or Twitter via the links on this page.
Until next time....
I have not done this in a while, but the Sears parts catalog on-line usually works pretty well. Just provide the model number of your band saw, should be attached to the saw somewhere and maybe you can get one shipped to you. But your welded method looks pretty cool and probably more fun to do.
ReplyDeleteNot bad for for $10.00.
Well james you impressed me again. Are you going to be the next norm?
ReplyDeleteI braze my bandsaw blades similar except I make the blade a loop the size I want then cut the two pieces diagonally at the same time. That gives me a scarf the long ways too. Blades always break somewhere completely different than where I've brazed them.
ReplyDeleteThe area beside the weld always seems to be more brittle and less "springy" than the rest of the blade.
ReplyDeleteA lot of top end blade manufacturers will make you a blade to any specs. Laguna Tools sells good quality 1/4 or 3/8 inch baldes at 72 5/8 length:
ReplyDeletehttp://www.ebay.ca/itm/Laguna-Tools-1-Resaw-King-Bandsaw-Blade-72-5-8-NEW-Universal-Wood-Saw-Blade-/390425036542
Hey, interesting idea. Made me thinking, why i can't think so. That title Band Saw blades was something i couldn't resist and that brilliant post, just worth a share. Will surely share this with our readers at Bipico
ReplyDeleteVibration is very distracting when cutting and must be kept to a bare minimum. Some saws inherently vibrate more by design. This feature tends to be very much dependent on the cost of the particular saw. tools
ReplyDelete