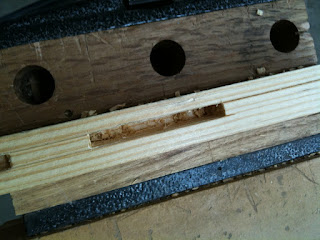
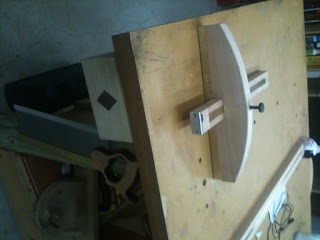
So, do you remember my last post about my new 144 year old moving fillister? Since the last time I showed her to you I've been a bad owner. I let her take a tumble from bench height, all the way to the concrete floor of the garage. With baited breath, I picked her up and examined for damage. I'll hand it to her, she's a tough old bird. The only wounds I saw were some cracking in the fence, which was worn thin from years of use anyway. I applied the liquid of life, glue in this case, and put a bandage of quarter sawn white oak over her weak section. For a few minutes it was touch and go, but she pulled through alright. I prescribed shelf rest for a couple of weeks whilst I was at work in England, and came home to find her good as new, or so I thought.
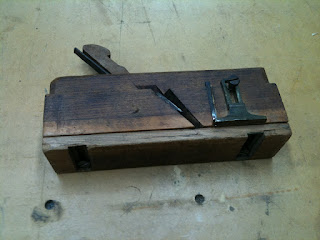
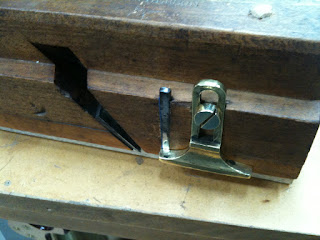
While I was gone, I bought this beauty off eBay.
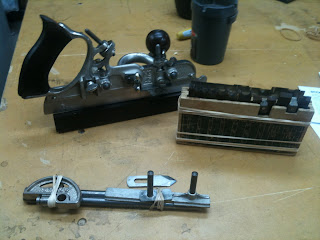
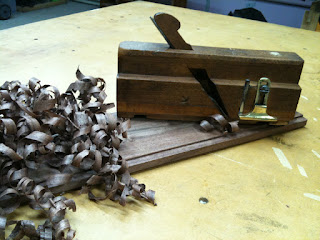
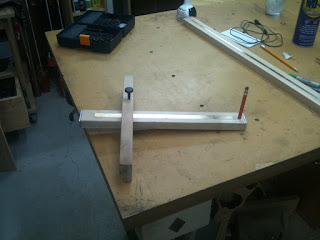
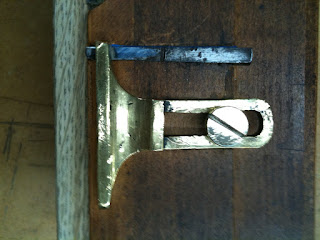
All the original parts are present and accounted for, and now sharp and rust free. So when one gets a new toy, it is only fitting that they should play with it. After making grooves, dados, rabbets, and a match joint, I thought I would try a bead. The ole #45 did it's job admirably, and I was left with a nice bead, sunk into the material. I wanted to get a better look at the sides of the bead. I could have set the #45 up for a rabbet, and planed down the edges of the board that way, but my eye caught sight of my beautiful maiden fresh from rest on the shelf. I took her down, set the fence, which had mended well, and began to set the depth stop. That's when it happened. Under the pressure of the screw driver, the head of her adjustment screw split, undoubtedly weakened from the fall she had taken earlier.
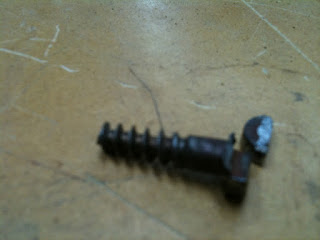
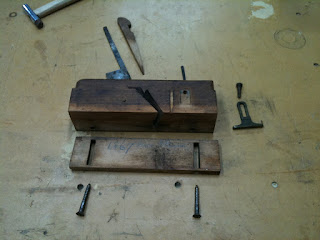
After inspecting what remained of the screw, I was flabbergasted. Where was I going to find a suitable match for a 144 year old cast iron screw? The threads were deep and coarse. The head was made in a way not normally available on wood screws. I was screwed. I thought of welding the head, but knew that wouldn't last. I thought of finding a screw with the appropriate head shape, drilling out the current thread, plugging the hole and re-cutting the threads. This seemed like my only option, until I remembered something.
There are other craftsmen out there, who do what we do to wood, in other mediums. There are blacksmiths, machinist, glass makers, blowers and glaziers, weavers, seamstress, upholsterers, leather smiths, the list goes on and on.
I think in today's throw away society, we forget that we don't always have to fix what is broken or by an off the shelf replacement. There are hard working men and women, just like me and you, ready and willing to do the job at hand. Whether it's to make the fix you couldn't, or to make a custom replacement, they can take you places you could never get yourself. And maybe, just maybe, they can take you further than you ever realized you could go, all on the expertise they have in their chosen medium, just like you have in wood.
All of this to say, don't forget your fellow craftsmen. They are working hard to perfect their craft just like you are, and I am sure they would love your business.
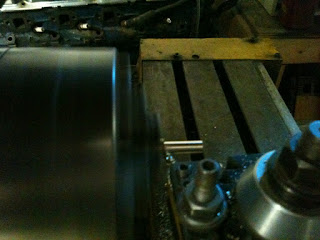
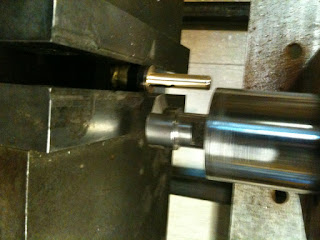
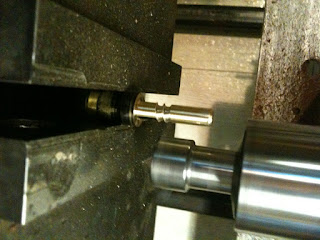
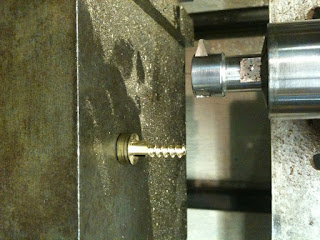
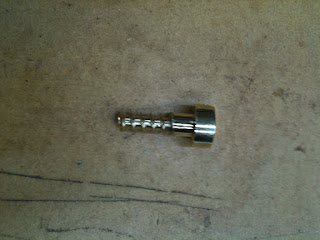
Now, as a reader of my blog, I am sure you know that I am on a first name basis with a local machinist. If not refer to this post. He is always willing to impart his knowledge to me, and works cheap. That being said, I'm sure next time he needs a little wood work done, I'll be his first call. So here are some shots of the work to reproduce my screw in fine brass. Turns out his lathe didn't have the proper settings for a 9 thread per inch cut, so we used his CNC to get the job done.
And a gratis video of the CNC cutting threads.
As always, feel free to post any questions or comments in the section below. You could always contact me on Facebook or Twitter via the links on this page.
Until next time...