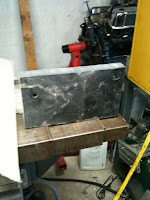
Now, let's say you're me. Then I can tell you exactly what you're going to do. You're going to go over to your mom and step-dad's house and use your step-dad's talent and machinery to make one. "How does one go about this?" you might ask. Let's run through the high lights.
Then you take said block and surface one side of it. This is of course done best with the home made CNC mill.
Next it needs a hole so you can see the iron through the tool. If you've been following along then you recognize the CNC mill and let me tell you it sure does make quick work of square holes.
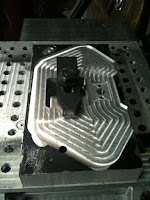
Now you need some way of holding the iron in the plane. How 'bout a precision machined "landing spot" for the iron holding device?
 Now that the "joinery" is done, you can see we have a lot of waste left. Changing the clamping position alows the waste to be cut away and the body to take it's final shape.
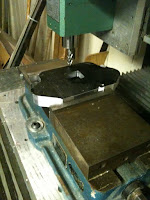
Now we get to surface the other side. Thought y'all might like a little video of the CNC in action.
So, what now? Well for that you have to wait for the next installment. You didn't think I was going to give it all away in one sitting did ya?
As always feel free to comment below or look me up on Twitter or Facebook.
Until next time....


If my mill had less backlash I'd CNC it but I don't want to change the lead screws in it, and I use it too much manually anyways that switching it over to ball screws is not an option.
ReplyDeletePersonally I'd have just run those flat faces with a flycutter.
I am not able to view this website properly on chrome I believe there is a problem
ReplyDeleteMy web page :: having trouble getting pregnant after a miscarriage