
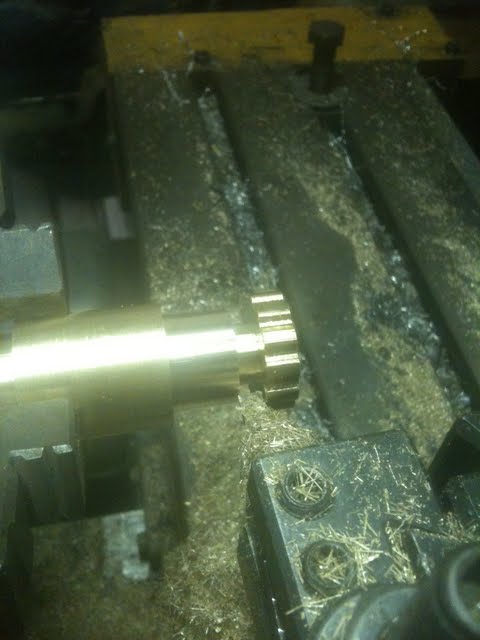
 The adjuster and the tool both need grooves to mate together. This gets done in the lathe. Just as a side note, if you ever decide to do some turning on an allen wrench, their pretty hard; like laughed at a tool steel cutter hard. Like made a solid carbide tool wince a little. However brass cuts like butter. I love working with brass almost as much as wood. I went with #10-32 bolts for the control so that one turn of the knob moves the iron 1/32".
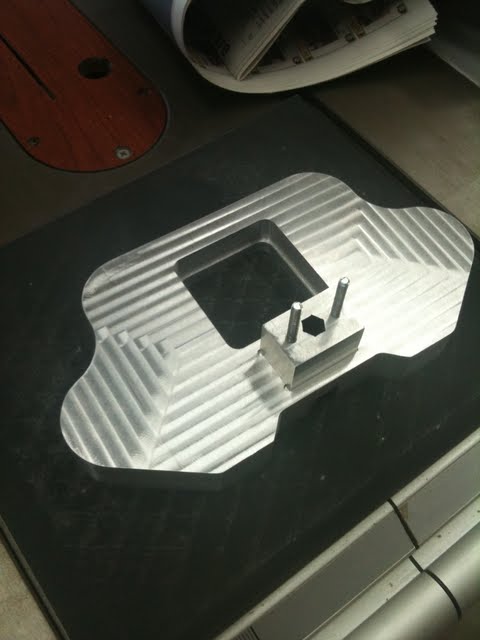
Next the body was set in the vise at 30* to mill for the handle locations. I chose 30* because it looked right. It felt right. A couple of holes drilled and tapped for 1/4"-20 bolts to attach the handles and we almost have a working model.
I made a second blade out of another allen wrench, and milled it down to 1/4" wide. The handles where turned on my wood lathe on a mandrel. Currently they are poplar and two different shapes so I can feel out what I like the best. When I have a design I like I plan to turn them out of laminated walnut blanks. Why not Rosewood or some other fancy exotic? Because I don't have anything exotic laying around the shop other than pen blanks. Remember the point of this exercise is to put as little money into this thing as possible. I'm sure I will have plenty of time in it, especially after I pay my step-dad back for all the time he has put in it, to not justify buying some beautiful turning blanks for the handles.
So, why no pictures of the finished product? Why no video of the plane in action? I have encountered a small problem. Mainly to do with the irons. I think that possibly the metal lathe ways are not perfectly square to the head stock, or my technique on the work sharp is not perfect. Most likely the second of the two. The issue I ran into is that the blade does not stay engaged in the wood. As the plane moves forward the cutter ramps out and rides above the surface. The back of the iron is not perfectly parallel to the sole of the plane. What to do now? Ah, but I have a plan.
Stay tuned. Next time we cover the fix for the problem (I sorely hope as I haven't had time to make it back to my step-dad's shop to try my fix), the final details of the plane, and a nice long video of this bad boy in action (again I hope, see above hope for reference).
As always feel free to comment below or contact me on Twitter (via the badge on the right) or Facebook(via the badge at the bottom of this page).
Until next time....
Wow. That's one hell of a plane coming together. Very impressive.
ReplyDeleteI was thinking about your problems with the blade rising out of the cut. I looked at my Lie Nielsen and Veritas routers and the blade actually angled downward just a bit. I haven't put a square to the iron to tell if it is the iron or the housing holding the blade at an angle. I will never be a toolmaker, but I wonder if that tiny angle helps the cut.
ReplyDeleteLike Dyami said - very impressive. Looking forward to the next post.
ReplyDeleteHey I found this website to be actually fascinating! Bookmarked!
ReplyDeletemy web page; having trouble Getting Pregnant after A miscarriage