So when we left off with a problem. A big problem. Our iron wouldn't cut. Shannon Rogers from
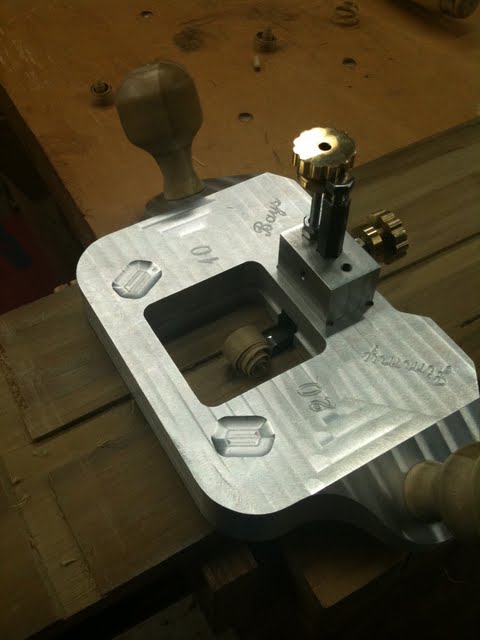
The Renaissance Woodworker left a comment on my last post pretty much confirming what I already assumed. The bottom of the iron should be at a slight angle to the body to ensure that the edge contacts the material to be cut before the heel. My step-dad did some clean up work on the irons using a grinding wheel mounted in the mill and the iron mounted at a slight angle. This seems to have resolved the problem. We decided to add a little decoration since we had the time and the means. This is the fastest I have ever written my name in metal. It may well also be the only time I have written my name in metal.
And finally, here is the finished product
In the next two videos, I must apologize for the shoddy camera work and the annoying background noise. Something is up with my camera, and I really need to get to the bottom of it. If it bothers you feel free to mute the sound as I'm not the best on camera personality anyhow so you wont miss out on much.
This video is a quick overview of the whole assembly process.
And here she is in action.
As always if you have any questions or comments feel free to use the section below or contact me on Twitter or Facebook.
Until next time....
P.S. This post is dedicated to my step-dad, Les, for all the hard work he put in on this plane. I owe him.


Wow, just wow. It's like the Flash Gordon router plane.
ReplyDeleteI was just browsing the internet for ideas to make my own router plane when I came across this. I'm also inclined to think 'how hard can it be?' when looking at the top market models. Yours is very impressive and the blog very helpful. I think I may use the allen key design. thanks
ReplyDelete